Making your own homemade chia jam is one of our absolute favorite ways to capture the vibrant flavor of fresh fruit without dealing with the hassle of a traditional jam recipe. While a classic jar of jam relies on a high sugar content to set properly, this simple fruit spread uses the natural gelling power of chia seeds to thicken up beautifully. It comes together in less than 10 minutes on the stovetop, making it an incredibly easy and customizable addition to your weekly meal prep routine.

Why You’ll Love This Recipe
- There’s no need for specialized water baths or precise boiling times. This easy chia seed jam thickens up on its own as it cools.
- Chia seeds are a wonderful source of soluble fiber and essential fatty acids, adding a little boost of nutrition to your morning.
- Whether you have freshly picked strawberries, a carton of strawberries from the grocery store, or a bag of frozen berries in the back of your freezer, this recipe turns out perfectly every single time.
- You can easily swap around the different fruits you use or adjust the added sweetener to match your personal preference.
Ingredient Notes
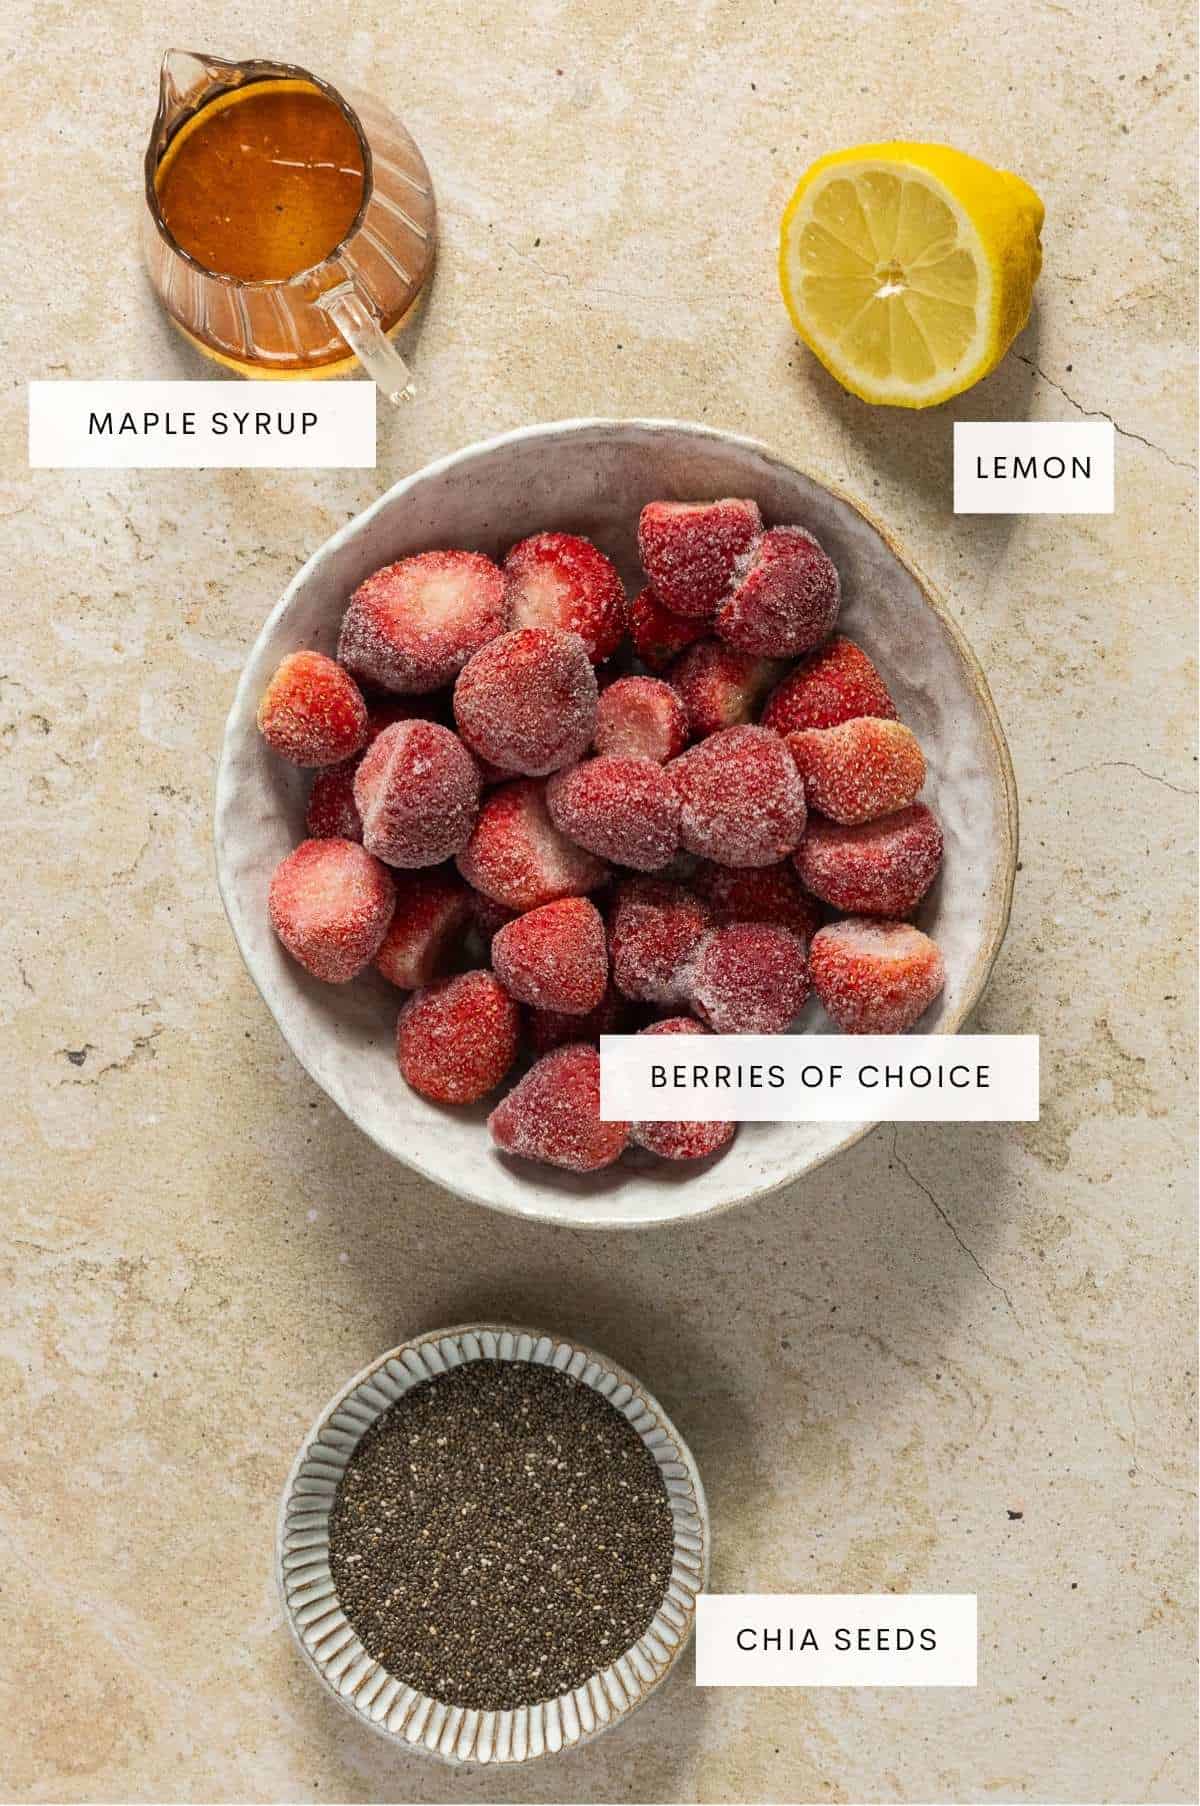
- Fruit - strawberries and raspberries are our favorite choices here, but you can easily use blueberries or blackberry blends. If you are using larger fruits like big strawberries, slicing them into smaller pieces first helps them break down evenly in the pan. You can use fresh or frozen fruit.
- Chia Seeds - the absolute star of the show! Chia seeds absorb the liquid from the warm fruit juices to mimic the sticky consistency of regular jam perfectly.
- Pure Maple Syrup or Honey - a drizzle of honey or maple syrup balances out the tartness of the berries. You can adjust the amount depending on how naturally sweet your fruit is, or leave it out entirely if your fruit is already very ripe.
- Fresh Lemon Juice - citrus juice adds a bright contrast that balances the flavors and keeps the color of your strawberry chia seed jam looking vibrant.
See the recipe card below for a complete list of ingredients and measurements.
How to Enjoy Homemade Chia Jam
Since this chia jam skips all the extra sugar in traditional jam recipes, it tastes fresh, fruity, and lets the berries really shine. It’s an easy way to elevate your favorite breakfasts.
- Swirled into cottage cheese or a delicious yogurt bowl layered with homemade granola.
- Spooned generously over our warm, flaky homemade Greek yogurt drop biscuits or a fresh slice of sourdough toast.
- Slathered on top of our favorite honey pancakes or our cottage cheese waffles as a fresh alternative to traditional syrup.
- Layered on top of a classic chia seed pudding or used as a colorful topping for a scoop of vanilla ice cream.
A Note on the classic PB&J sandwich: Because this recipe contains less added sugar than a standard commercial store-bought jam or store-bought jelly, it is not quite as sweet as what you might expect for a traditional PB&J. If you want to use this specifically for a peanut butter sandwich, we recommend stirring in additional sweetener to your liking while it is warm!
Recipe Tips & Variations
- Switch Up the Berries: This formula works beautifully as a raspberry chia jam, blueberry jam, or strawberry chia jam. Feel free to mix and match whatever soft fruits you have on hand! You can even make jam with peaches or nectarines.
- Adjust the Sweetness: You can easily tailor the sweetness of this jam to your liking. Taste the fruit spread after mashing, and feel free to add an extra tablespoon of maple syrup or a little drizzle of honey if your berries are on the tart side.
- Fun Flavor Add-Ins: Stirring in a half teaspoon of vanilla extract at the very end is a fantastic way to give your strawberry chia seed jam a dessert-like depth of flavor. You can also add a pinch of cinnamon or orange zest depending on the fruit you choose.
How to Make Easy Chia Seed Jam
For the full recipe instructions, scroll down to the recipe card at the bottom of the page.
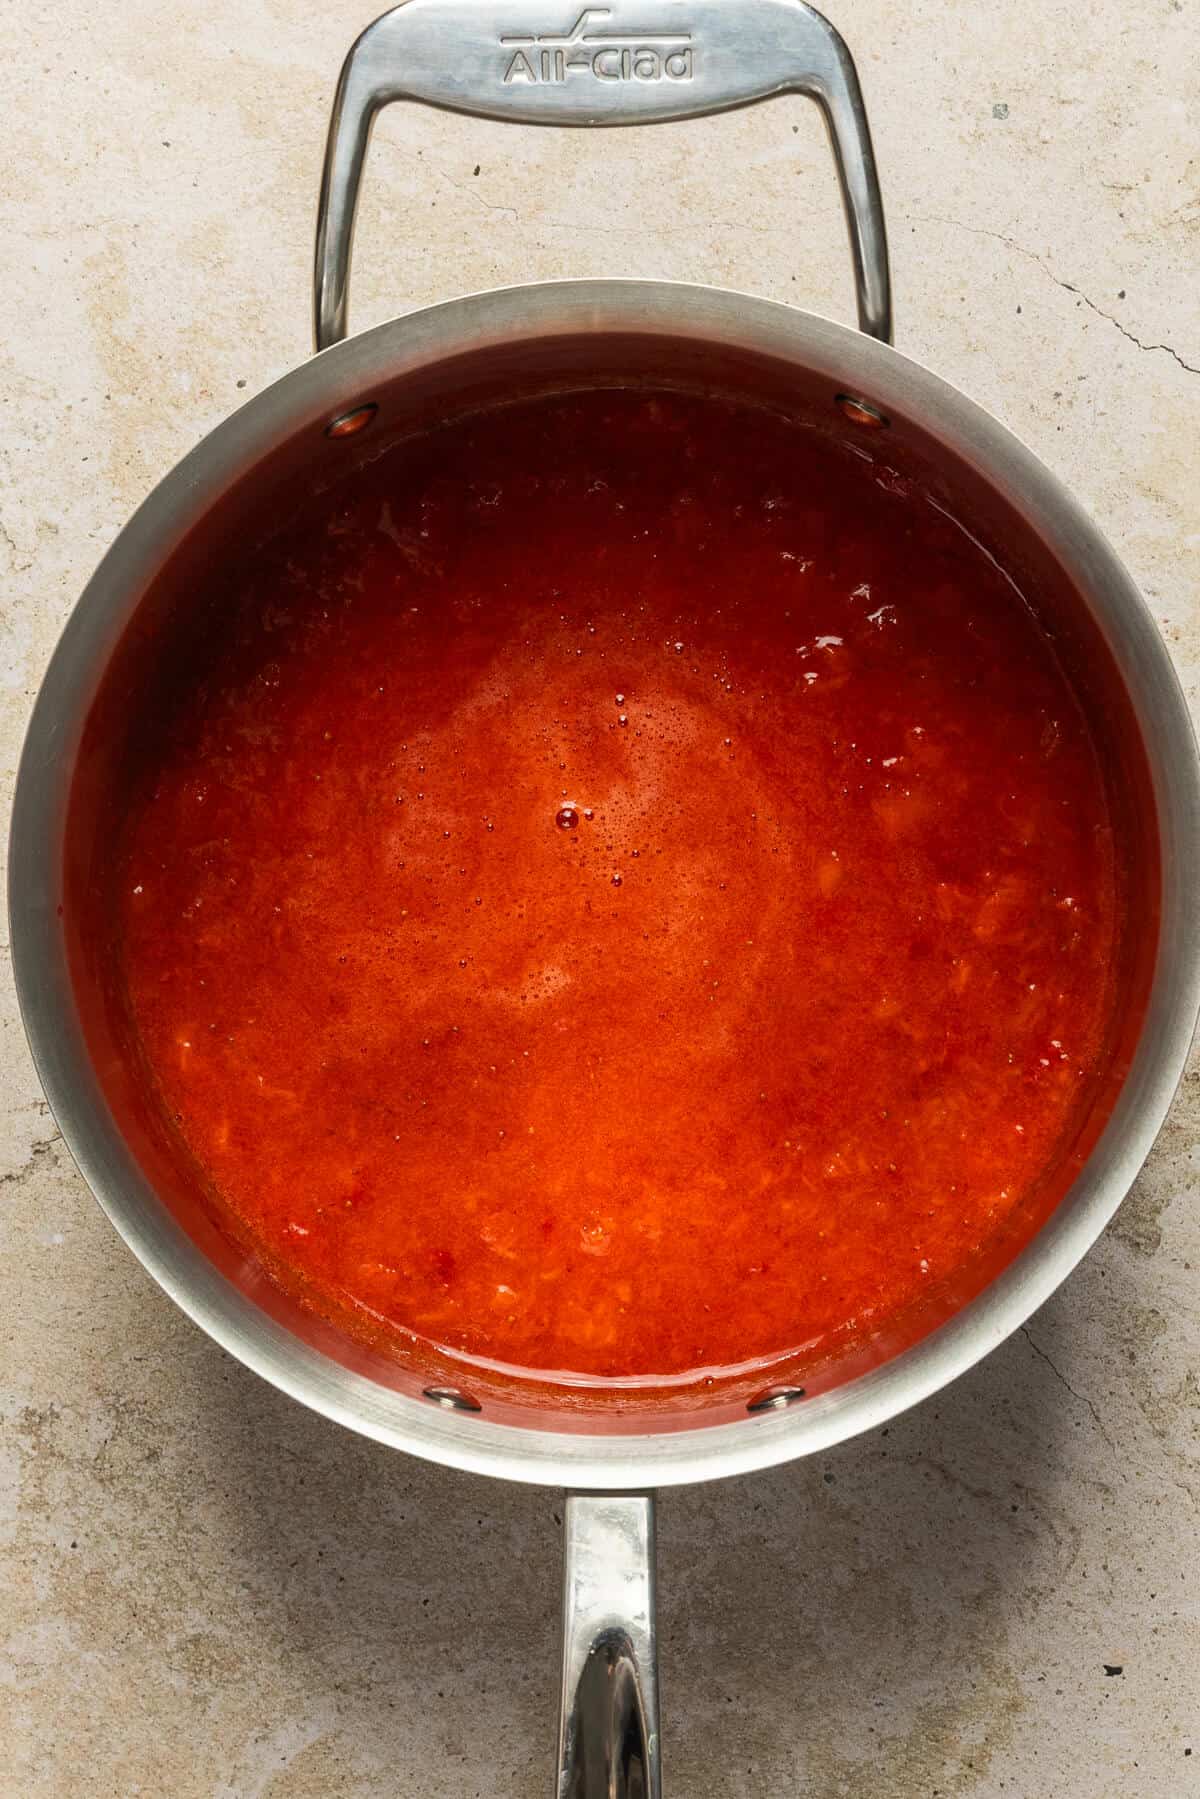
Step 1: Place your fresh fruit or frozen berries into a small saucepan over medium heat. As the berries begin to warm up, soften, and release their natural berry juice (about 3 to 5 minutes), use the back of a fork or a potato masher to break them down to your desired texture. Leave some fruit whole for a chunkier spread, or mash thoroughly for a smoother consistency.
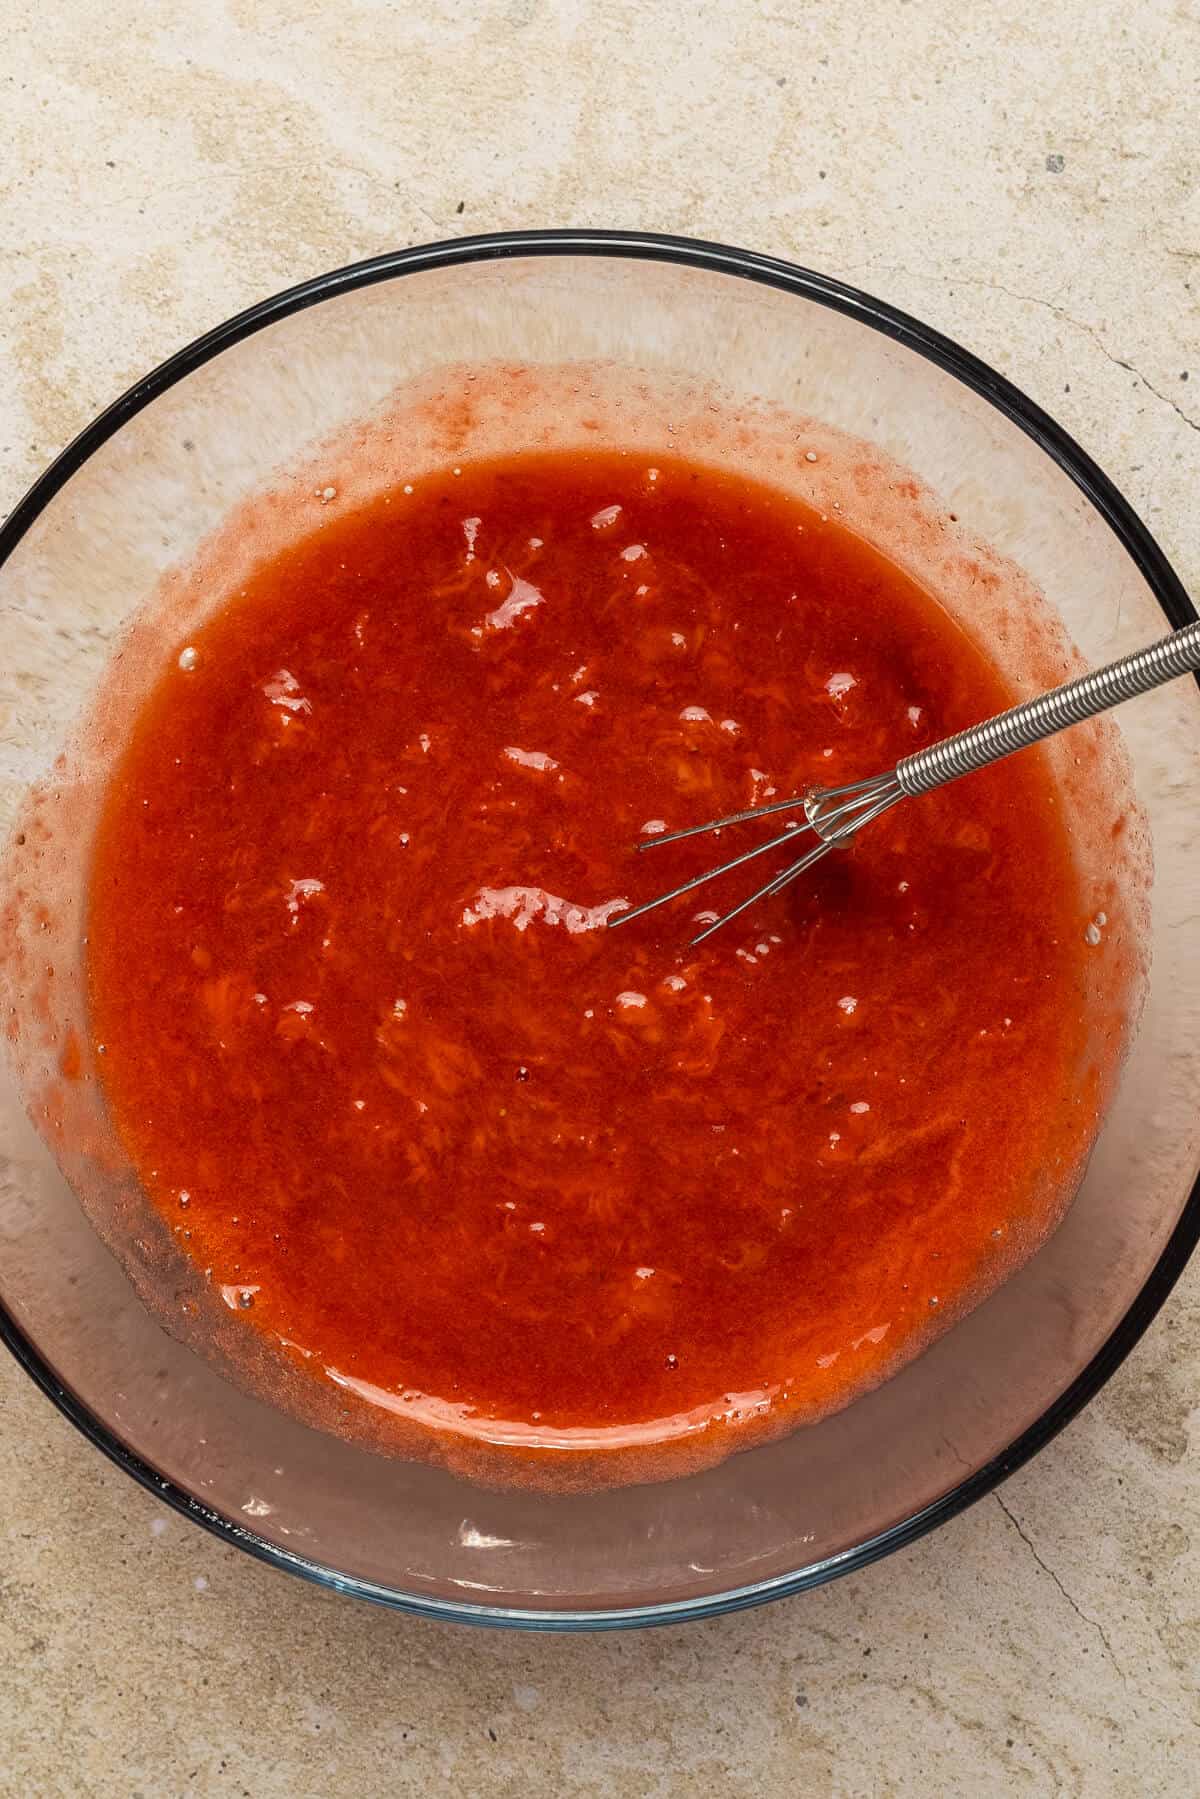
Step 2: Remove the small saucepan from the heat completely. Stir in the fresh lemon juice and maple syrup or honey until well incorporated.
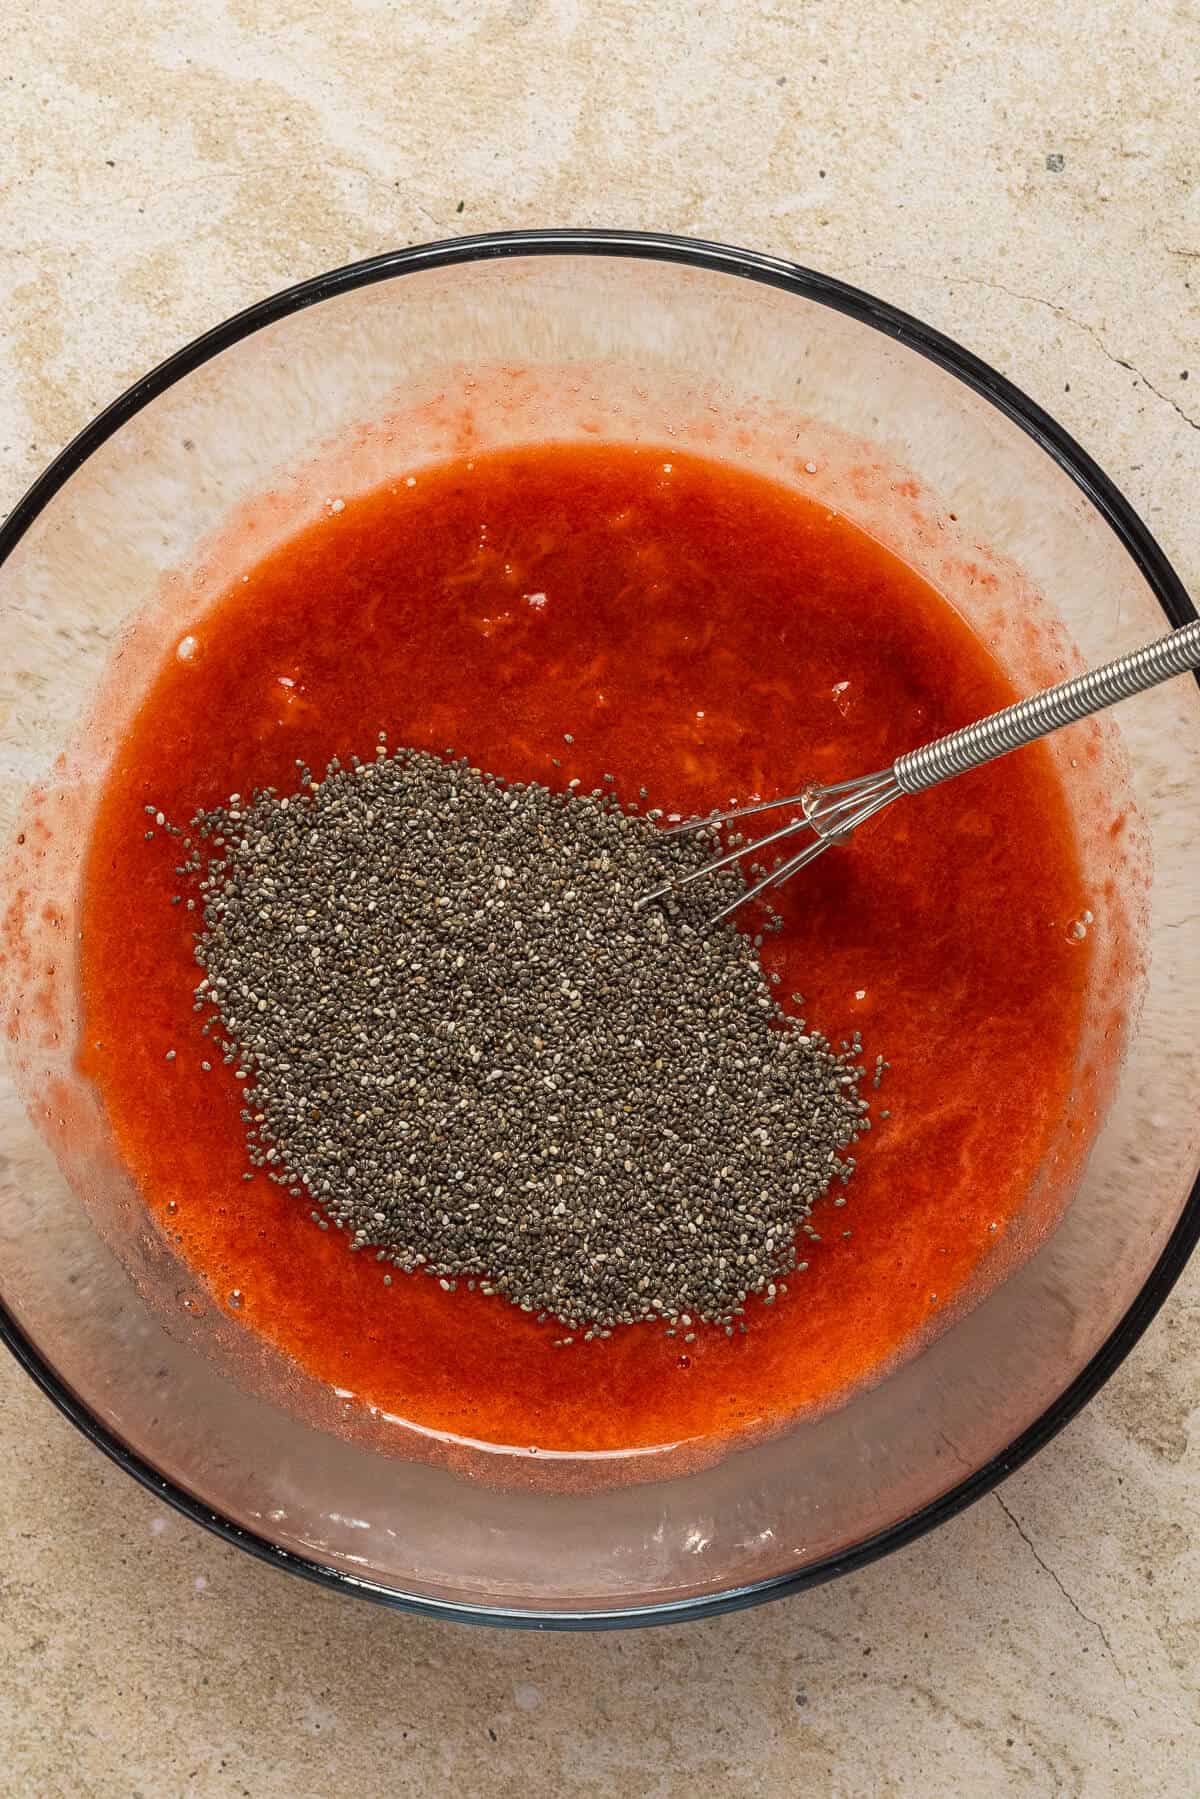
Step 3: Add the chia seeds into the pan, stirring vigorously until they are evenly distributed throughout the warm fruit mixture.
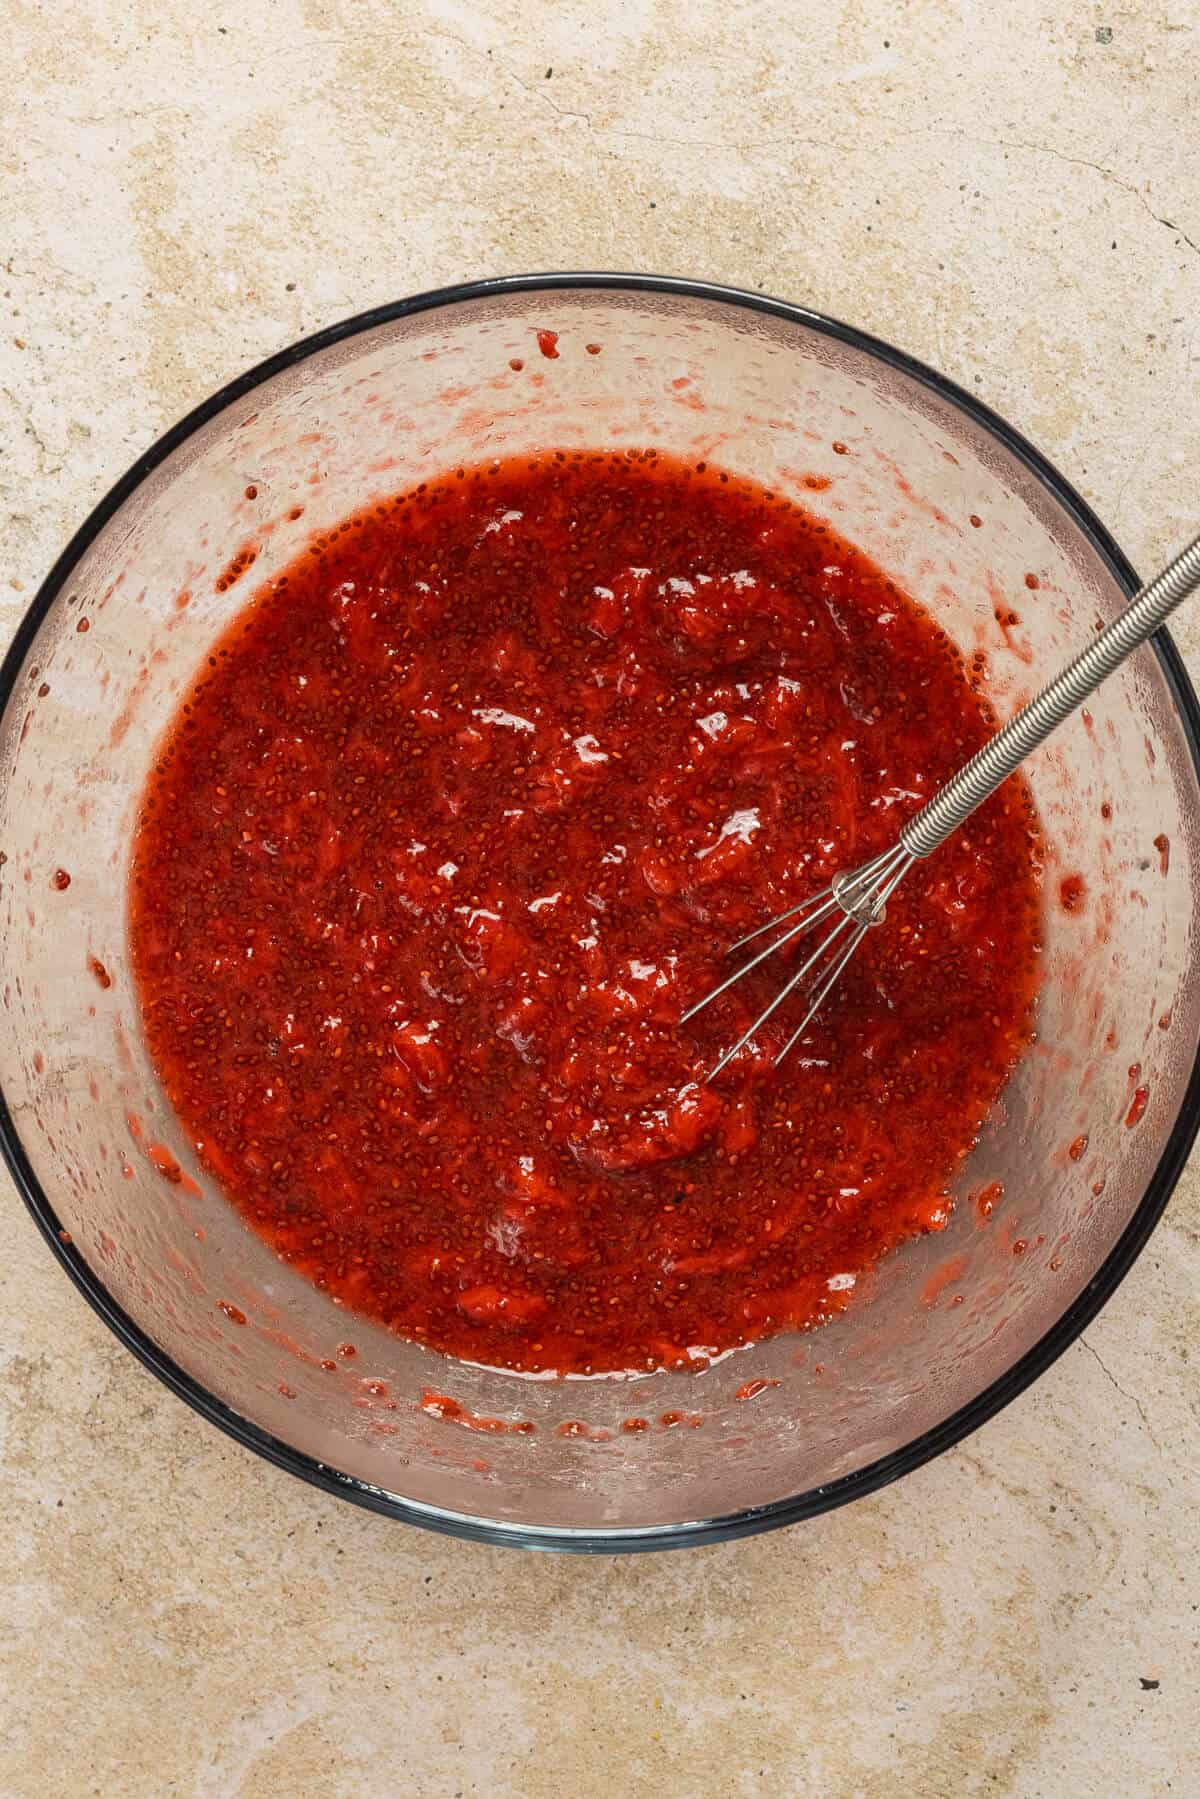
Step 4: To ensure a perfect jammy texture, give the mixture a good stir every 5 minutes for the first 20 minutes. This prevents the chia seeds from clumping together as they begin to swell.
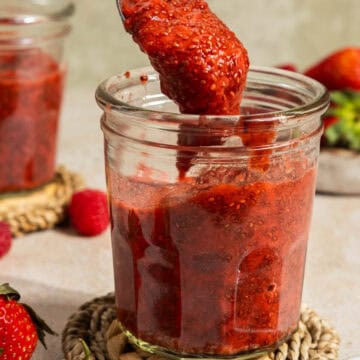
Let the chia jam rest at room temperature for 1 hour to allow the seeds enough time to absorb the remaining water content and reach a beautiful, thick, gel-like consistency. Transfer your own homemade jam into a mason jar or airtight container and store it in the fridge. Enjoy!
Chia Jam FAQs
Store your finished jam in a sealed container, sealed jar, or clean mason jar in the refrigerator. It will stay fresh and delicious for up to 7–10 days.
Yes, absolutely! If you make a double batch, let it cool completely and spoon it into small jars (leaving a little space at the top for expansion) or drop it into an ice cube tray for perfect single-serving portions. Freeze for up to 3 months, and simply thaw a jar in the fridge overnight before using next time.
If your jam still feels a bit too loose after sitting, it usually just needs a little more time in the fridge! Chia seeds continue to absorb liquid as they chill. If it's still too runny the next day, your specific fruit might have had a higher water content than usual—simply stir in an extra half teaspoon of chia seeds and let it sit for another 30 minutes.
Yes! While we love using a liquid sweetener like honey or maple syrup because it dissolves instantly into the warm berry juice, you can use coconut sugar or your favorite granulated option. Just be sure to stir it in thoroughly while the fruit is still warm so it fully dissolves.
Because berries contain their own natural sugars, the jam will always have a little natural sweetness. However, if your fresh berries are incredibly ripe and sweet on their own, you can easily omit the additional sweetener entirely for a completely fruit-forward spread!
This chia jam recipe is gluten free, dairy free, vegetarian, and vegan with the use of maple syrup over honey.

Want More Nourishing Chia Seed Recipes?
If you love finding delicious ways to incorporate wholesome ingredients into your morning routine, you will absolutely love our creamy, make-ahead chia pudding variations for an easy breakfast.


If you make this easy chia jam recipe, please let us know how it turns out in the comments below and/or rate the recipe! Don’t forget to tag us on Instagram to show us your finished product—it makes our day every time we see you trying the recipes we love!
Easy Chia Jam (With Fresh or Frozen Berries)
Ingredients
- 3 cups strawberries, raspberries, blueberries, blackberries, or mixed berries
- 3 tablespoons chia seeds
- 2 teaspoons lemon juice
- 2 tablespoons maple syrup or honey
Instructions
- Place your fresh fruit or frozen berries into a small saucepan over medium heat. As the berries begin to warm up, soften, and release their natural berry juice (about 3 to 5 minutes), use the back of a fork or a potato masher to break them down to your desired texture. Leave some fruit whole for a chunkier spread, or mash thoroughly for a smoother consistency.
- Remove the small saucepan from the heat completely. Stir in the fresh lemon juice and maple syrup or honey until well incorporated.
- Add the chia seeds into the pan, stirring vigorously until they are evenly distributed throughout the warm fruit mixture.
- To ensure a perfect jammy texture, give the mixture a good stir every 5 minutes for the first 20 minutes. This prevents the chia seeds from clumping together as they begin to swell.
- Let the chia jam rest at room temperature for 1 hour to allow the seeds enough time to absorb the remaining water content and reach a beautiful, thick, gel-like consistency. Transfer your own homemade jam into a mason jar or airtight container and store it in the fridge. Enjoy!
Notes
- Save time/prep ahead: This recipe is already incredibly fast, but using frozen fruit can actually save you the step of chopping larger fresh berries, as frozen berries naturally break down very quickly when warmed over medium heat.
- Store your finished jam in a sealed container, sealed jar, or clean mason jar in the refrigerator. It will stay fresh and delicious for up to 7–10 days.
- If you want to freeze chia jam, let it cool completely and spoon it into small jars (leaving a little space at the top for expansion) or drop it into an ice cube tray for perfect single-serving portions. Freeze for up to 3 months, and simply thaw a jar in the fridge overnight before using next time.
- This recipe can easily be adjusted to your preferred sweetness. Feel free to adjust the level of sweetener you add as needed.
- Dietary variations: This recipe is naturally gluten-free and dairy-free. To make it strictly vegan-friendly, ensure you choose pure maple syrup or agave nectar as your sweetener instead of honey.
- The recipe can be found on My Fitness Pal by searching "BWB Easy Chia Jam." The nutrition content provided for each recipe is an estimate created through the My Fitness Pal database. Please be aware that the nutritional content of each recipe may vary based on the products you use, the precision of your measurements, and the source you use to obtain nutrition data. While we try to provide accurate information, we give no guarantee regarding the accuracy of the nutritional information provided.


Leave a Reply